Graveyard Keeper 2 Town Shops and Orders
Graveyard Keeper 2 town shops each come with their own trader, daily income and weekly Likes — and Town orders open only on Pride day, capped at two at a time.
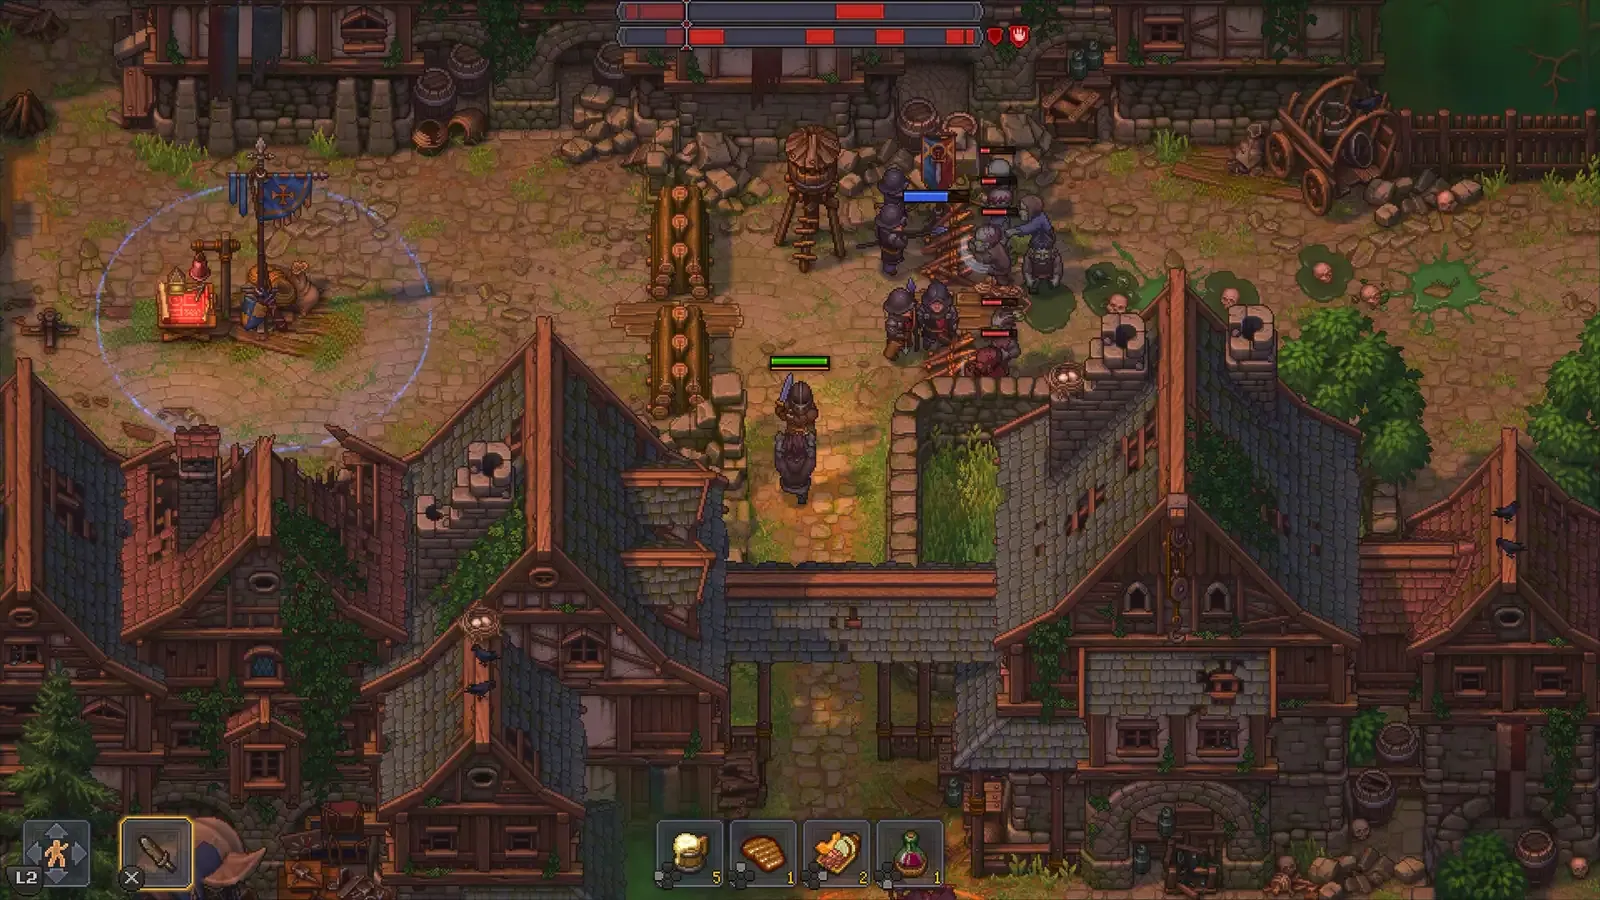
What does restoring a town shop actually give you?
Four things: Village reputation, a trader with its own inventory, that trader’s Town orders, and progress toward the Shop Owner inspiration and the Patron of merchants achievement. The trader is the part that changes your game, because a restored shop becomes a permanent buyer and seller sitting in a district you cleared.
The design reason is stated by the developers: Buildings won't just improve The Town itself. They'll also create new markets for your goods and unlock valuable products and resources for you to buy. That second half is the one players forget. When you are stuck on a material you cannot produce yet, the answer is often not more production but restoring the district that sells it. Town restoration and commerce are the same system wearing two hats.
How much money and Gratitude do town traders produce?
A Tier I trader earns 20 copper a day, Tier II 50 copper, Tier III one silver, and their weekly Gratitude caps are 8, 16 and 25 Likes. Each trader also has a purse limit and cannot pay out more than the purse holds; the daily settlement tops the purse up and restocks or dumps inventory at base price.
Two village merchants are the documented exceptions: Herm gives 2, 15 and 20 Likes across his tiers, and Januarius gives 10, 15 and 20. Prices are dynamic in the other direction too — the more of a given item a trader is holding, the lower the price that trader will pay for another one, so dumping 50 cabbages on a single stall is a good way to tank your own margin. Sell in smaller batches across several traders, and check item prices and selling routes before you commit a harvest.
Where can each town shop go, and what does Tier I cost?
Placement is fixed by plot type. The eight market stalls — Apothecary, Alchemist, Vegetable Stand, Tailor, Furniture Maker, Baker, Fish Stand and Jeweler — must sit on Merchant Stalls plots, while the four artisan businesses — Builder, Smithy, Tavern and Brewery — must sit in Workshop Courtyard plots. Tier I costs materials only, never coins.
| Shop | Plot it must occupy | Tier I build cost |
|---|---|---|
| Apothecary | Merchant Stalls | 4 Building Kit I + 3 Wooden Kit I + 1 Iron Kit I |
| Vegetable Stand | Merchant Stalls | 4 Building Kit I + 3 Wooden Kit I + 1 Iron Kit I |
| Tailor | Merchant Stalls | 4 Building Kit I + 3 Wooden Kit I + 1 Iron Kit I |
| Furniture Maker | Merchant Stalls | 6 Building Kit I + 4 Wooden Kit I + 2 Iron Kit I |
| Baker | Merchant Stalls | 6 Building Kit I + 4 Wooden Kit I + 2 Iron Kit I |
| Fish Stand | Merchant Stalls | 6 Building Kit I + 4 Wooden Kit I + 2 Iron Kit I |
| Alchemist | Merchant Stalls | 8 Building Kit I + 6 Wooden Kit I + 3 Iron Kit I |
| Jeweler | Merchant Stalls | 8 Building Kit I + 6 Wooden Kit I + 3 Iron Kit I |
| Builder | Workshop Courtyard | 4 Building Kit I + 3 Wooden Kit I + 1 Iron Kit I |
| Smithy | Workshop Courtyard | 4 Building Kit I + 3 Wooden Kit I + 1 Iron Kit I |
| Tavern | Workshop Courtyard | 6 Building Kit I + 4 Wooden Kit I + 2 Iron Kit I |
| Brewery | Workshop Courtyard | 6 Building Kit I + 4 Wooden Kit I + 2 Iron Kit I |
The technologies that open those plots have their own ladder. Market Stalls I is handed to you by the main quest Safe Harbor, while Artisans I sits after Conveyors at 75 red plus 25 green points. Artisans II costs 100 red and 75 green after Building Kit I, Market Stalls II costs 130 red and 30 green after Building Kit I, and Market Stalls III costs 150 red and 50 green after Furniture Kit I.
Tier II and Tier III upgrades are different: they need no technology at all, only materials, and each upgrade hands back Village reputation — usually 2, sometimes 3. Do not double-buy materials for them either, since each tier is priced separately rather than cumulatively. Finishing a Tier I shop or a house repair also triggers the Builder talent, which gives every kit a 30% chance to refund between one and half of that kit, rounded down.
How do Town orders work?
Orders are accepted only on Pride day, and you can hold at most two at a time. Delivery goes to the Town Warehouse, surplus goods can be sold there for money, and the whole system uses just 22 supply box types across 76 orders. Urgent orders must be completed within one week; Regular orders can stack week by week.
The payout is deliberately doubled up. A single order rewards 10 to 80 Likes, more with the Happy supplier talent, and the goods you hand over are additionally paid for in money at base price on Pride day. That means one delivery effectively sells the same crate twice — once as Gratitude and once as coin. The day itself is fixed by the six-day calendar, so plan production around the weekly day symbols rather than around when a trader happens to be standing there.
| Trade channel | Location | Open day | What you hand over | What comes back |
|---|---|---|---|---|
| Town shops (market stalls) | Merchant Stalls plots | Daily | Trader’s own inventory | 20c / 50c / 1s per day by tier; 8 / 16 / 25 Likes per week |
| Artisan shops | Workshop Courtyard plots | Daily | Trader’s own inventory | 20c / 50c / 1s per day by tier; 8 / 16 / 25 Likes per week |
| Town orders | Town Warehouse | Pride only | Supply boxes (22 types) | 10–80 Likes plus base-price coin for the goods |
| Green Scrolls | Linda, Dockside Club | Lust only | Green Scrolls from repaired housing | Town quality, which raises the Likes cap |
| Gratitude goods | Herm and other traders | Daily | Items carrying the thumbs-up marker | About 15 goods per Gratitude point |
| Burial Certificates | Januarius, village tavern | Daily | Burial Certificates | 1 Gratitude each, capped near 5 per week |
One gap worth flagging honestly: neither of the two main trading references records what happens if an Urgent order goes past its week. The requirement is documented, the penalty is not, so do not gamble on an Urgent order unless you can fill it.
How do you turn town commerce into Gratitude?
Sell goods that carry the gold thumbs-up marker. Roughly 15 marked goods equal one Gratitude point, and each crop type is capped at two points per week, which is 30 items. River fish fillets convert faster: five fillets give two points.
Deliveries to the Town Warehouse commonly land on 15, 20 or 25, while the order itself rewards 10 to 80 Likes. Burial Certificates sold to Januarius in the village tavern are the steadiest trickle at one point each, though that source caps out near five per week — so a single sermon’s worth of Gratitude cannot come from certificates alone. The marker is not permanent either: a trader only flags a good while they actually want it, so if your usual crop stops earning, switch category or wait a few days. Everything about spending that Gratitude safely is covered in how Gratitude works.
What raises the weekly Likes cap?
Repairing town housing pays out Green Scrolls, and Linda at the Dockside Club collects them — but only on Lust day, and only through her attract-people options of 1, 5 or 10 new residents. Each batch raises town quality, and town quality raises your weekly Likes cap.
Housing repairs scale their payouts sharply: a small house gives 1 Green Scroll, single houses give 3, large houses give 10, and whole repaired blocks give 20 or 25. Pride day then resets each trader’s weekly Likes ceiling, which is the moment to spend the fresh headroom. The loop you are building is circular on purpose — shops attract residents, residents raise town quality, higher quality raises the Likes cap, and a higher cap lets you bank more Gratitude for the next sermon.
Why is the town economy the real endgame?
Because corpses scale with the town. The developers state that the larger the town grows the more corpses you receive, and that the better supplied and more prosperous — and therefore more sinful — the town becomes, the better those corpses are, each carrying more skulls.
That closes the loop the whole guide site keeps pointing at: a richer town feeds you better bodies, better bodies make better zombies, and better zombies produce the goods that make the town richer. The developers even name the actual obstacle, and it is not the undead: The real problem is much worse: hopelessness… and a lack of consumer goods. Fighting clears districts; commerce is what makes them worth holding. Red skulls matter more than white ones in that pipeline, which is why corruption and red skulls belong in the same conversation as your shop ledger.
Capacity is worth planning too. Seven Merchant Stalls plots have to hold eight market stalls and four Workshop Courtyard plots hold four artisan shops, while the Patron of merchants achievement wants 11 shops across your town — so a restoration plan that places nothing but high-tier craftsmen will run you out of plots before it runs you out of money.
Related Articles
town
Graveyard Keeper 2 Gratitude — How to Get and Cap It
How Graveyard Keeper 2 Gratitude works: the golden thumbs-up, the 10-to-20 cap, every weekly source, and the buy-and-resell trick that fills 10 points cheaply.
town
Graveyard Keeper 2 Fast Travel — Milestones, Not Teleportstones
Graveyard Keeper 2 has no Teleportstone. Fast travel runs on 11 Milestones, which most media call Waypoints — 7 of them cost 23 Faith in total.
town
Graveyard Keeper 2 Town Restoration — How It Works
How Graveyard Keeper 2 town restoration works: the reclaim-then-rebuild loop, what each building costs in kits, and how the Town upgrades your corpses.
Was this helpful?
Thanks for the feedback!